← Viewer Installation
← Xvisio SDK Documentation Home Page
Windows - Xvisio Viewer Download and Install User Guide
Note:Since there is a translation layer between usb3.0 of the virtual machine and the hardware of the machine, it will cause instability and performance of usb communication, so it is not recommended to install and use Xvisio sdk and devices in the VM.
Preparation
- Windows10 and Windows11 OS
- The prerequisites of the environment are the same as the installation requirements of the Xvisio SDK. If the Xvisio SDK has been successfully installed, there is no need to install it again.
Windows Environment Installation
- Check device usb port:
Connect Xvisio with PC by USB cable. Usually three device enumerations can be shown in device manager if the Xvisio device is connected normally:
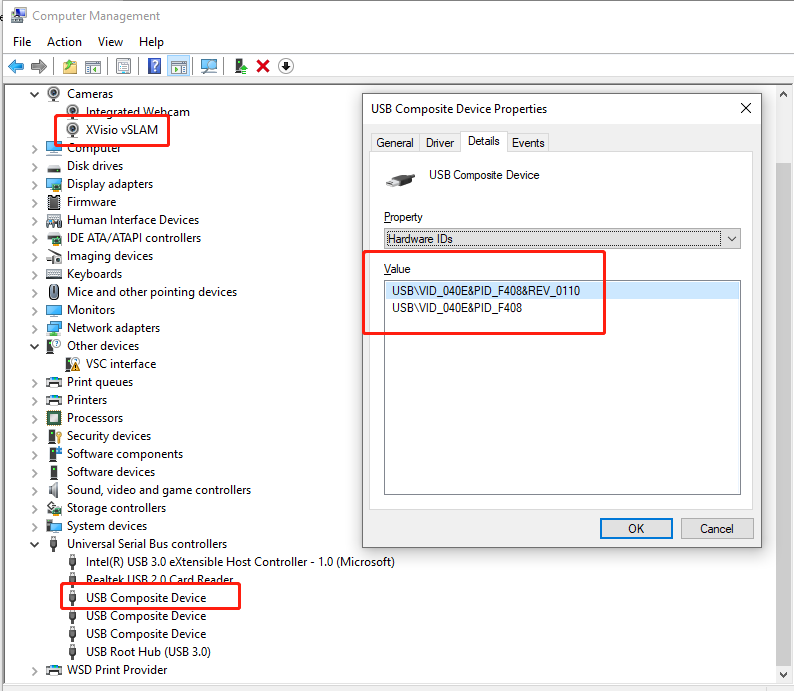
1.Check device status of "VSC interface". User needs to install driver if it prompts exclamation mark or abnormal status symbols (see the figure above).
2. Check camera device status of "XVisio vSLAM". No need to install driver.
3. "USB composite Device": open properties to check hardware ID ""VID:040E" ,“PID:F408"". No need to install driver. - Install driver
1.Download driver installation tool "zadig".
2. Double click "zadig-2.3.exe".
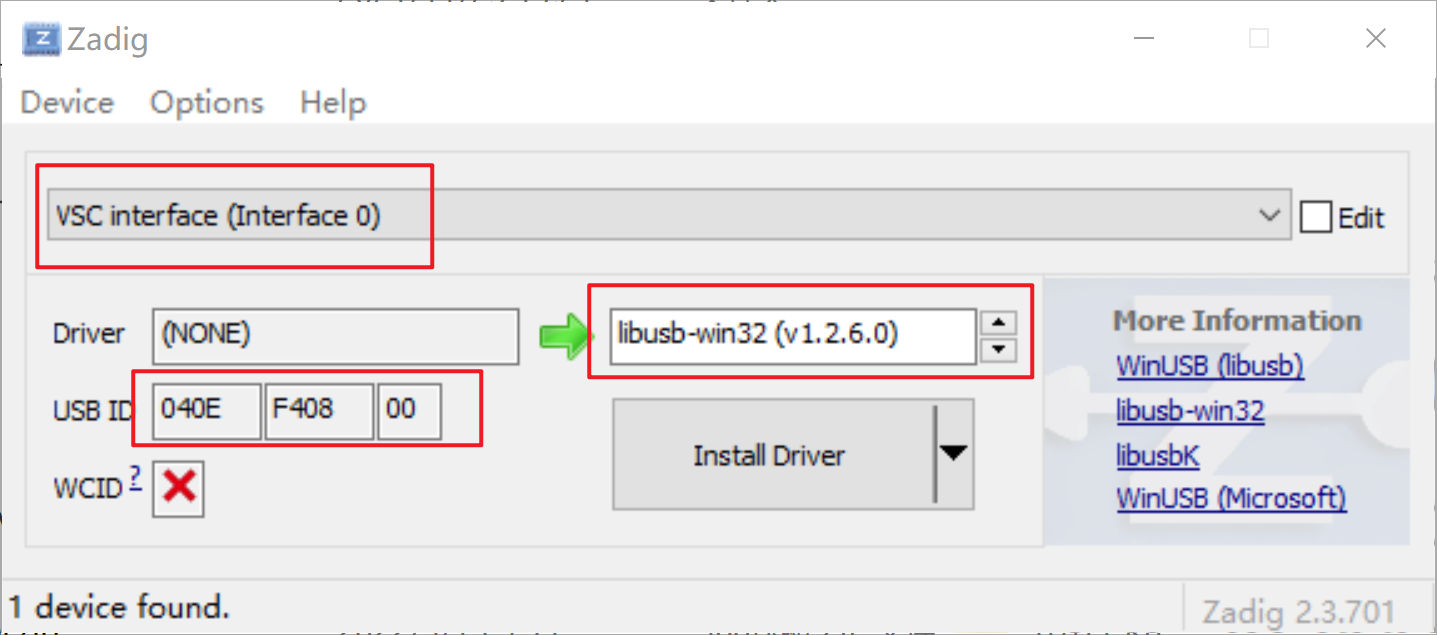
3. Select "VSC interface(interface 0)".
4. Select driver version: "libusg-win32(v1.2.6.0)" .
5. Check that the USB ID should be "O4OE F408 OO".
6. Click "Install Driver" to install.
7. Wait for several minutes.
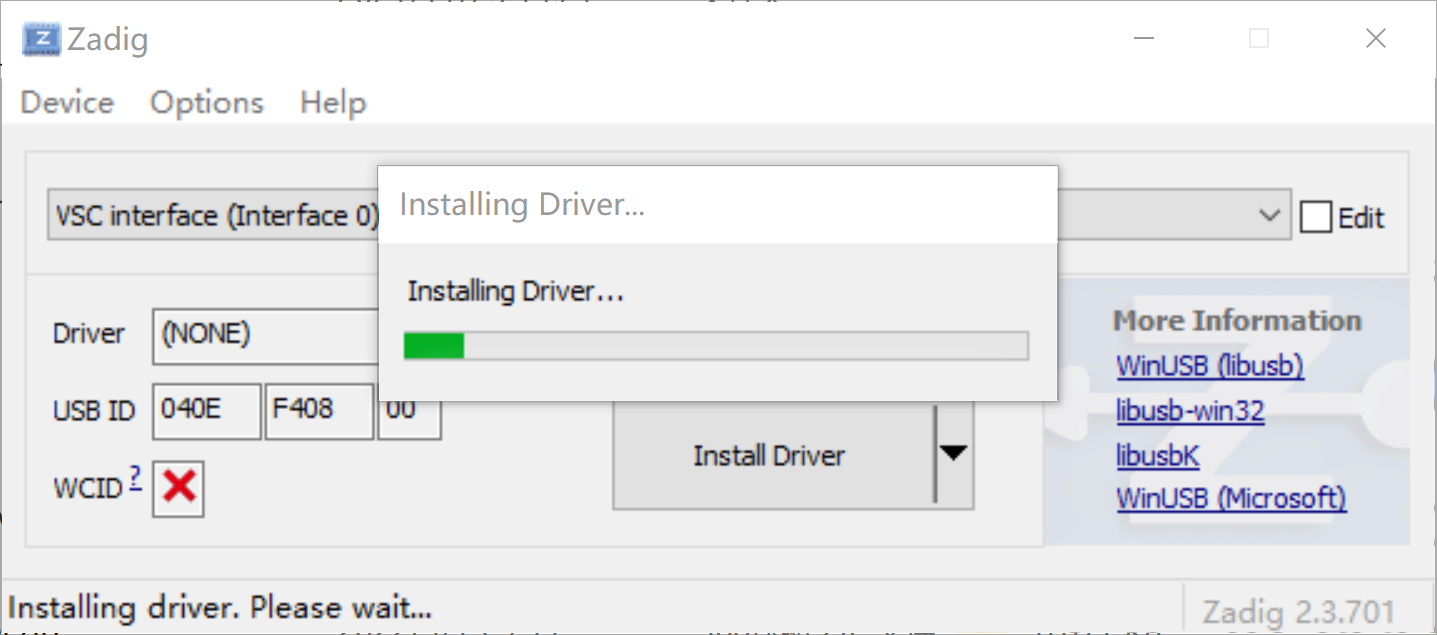
8. If it prompts "The driver was installed successfully" which means installation successfully. Otherwise it means failure. Click "Close" to exit.
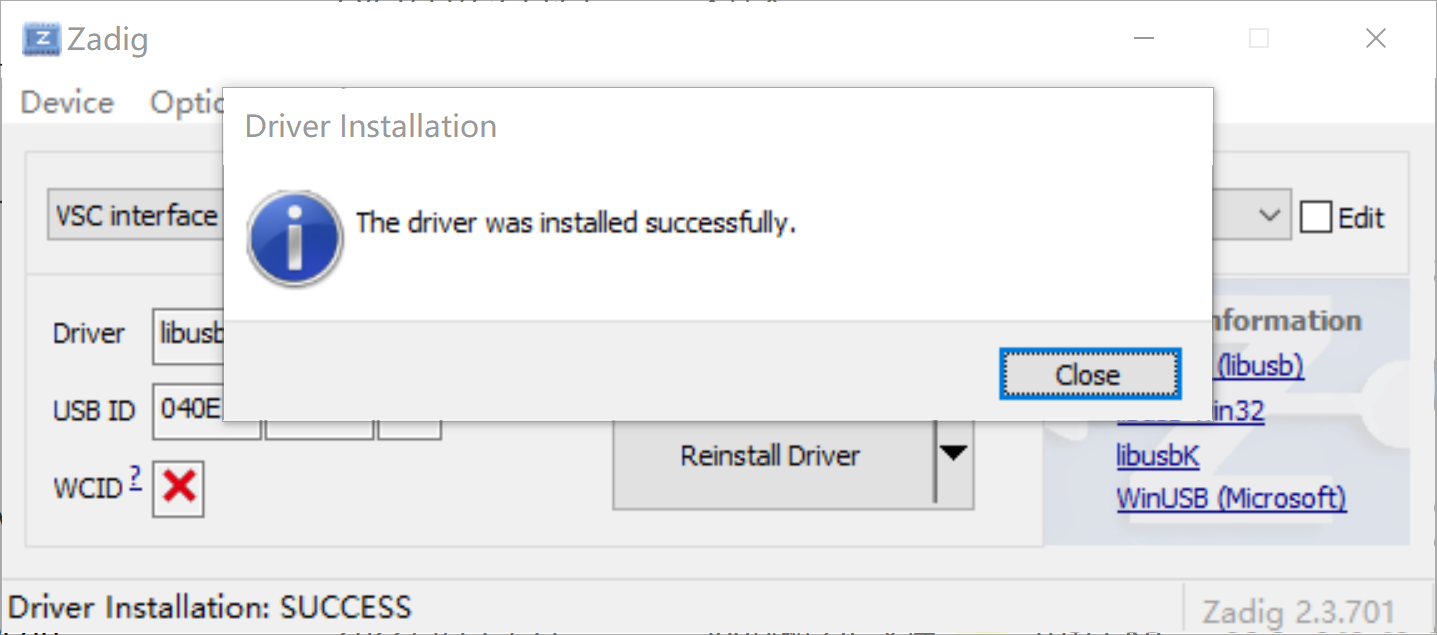
9. Check whether the status of "VSC interface" is normal in device manager.
10.Please check the USB port ,USB cable,working status of Xvisio device, or contact Xvisio FAE for help if installation failed.
Download Viewer
- Click to get the latest installation package, please choose to download the installation that contains the words "xvsdk_Viewer-x.x.x-xxxxxxxx_msvc2017-x64.exe" install package.
Viewer Installation
Please double-click the downloaded installation package "xvsdk_Viewer-x.x.x-xxxxxxxx_msvc2017-x64.exe":
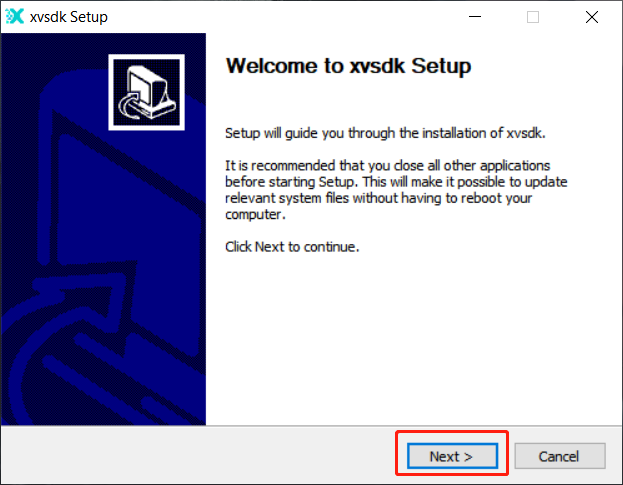
- Click Next:
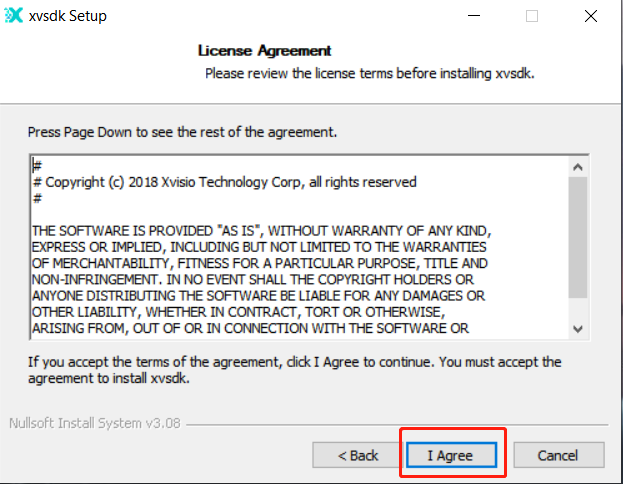
- Click "I Accept":
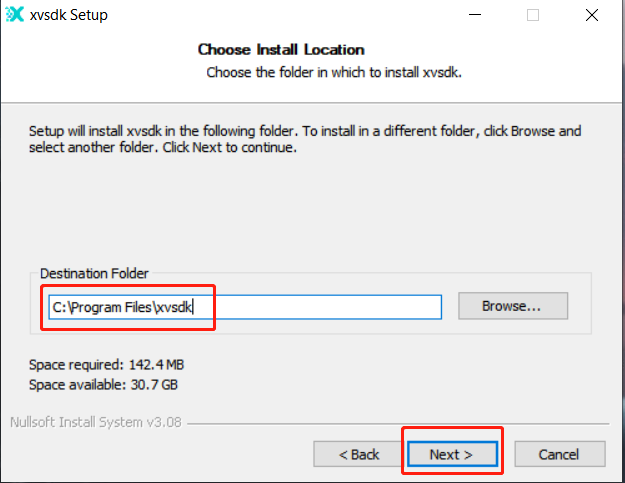
- Select the installation location and click "Next":
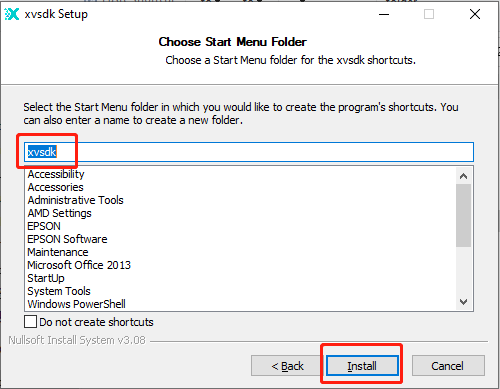
- Select Start menu files and shortcuts, and click "Install":
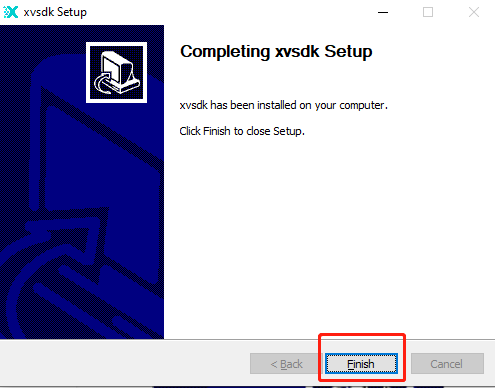
- Click "Finish" once the installation is completed.
Checking
Run xvsdk-viewer to check the installation status:
- Connect the xvisio device and the Windows host with a USB cable.
- Use USB to connect the Xvisio device to the PC. If the Xvisio device is connected normally, there are usually 3 devices enumerated. You can view the device status through the system's device manager:
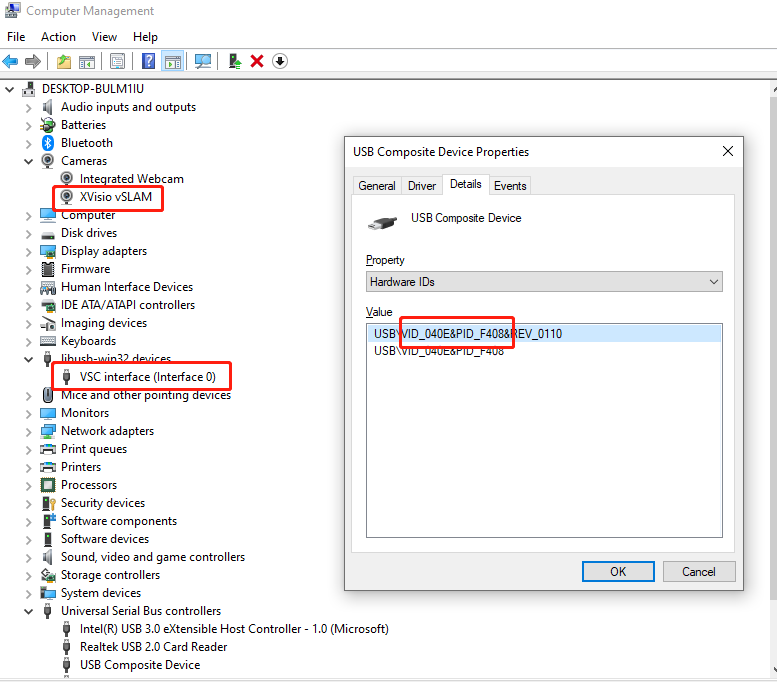
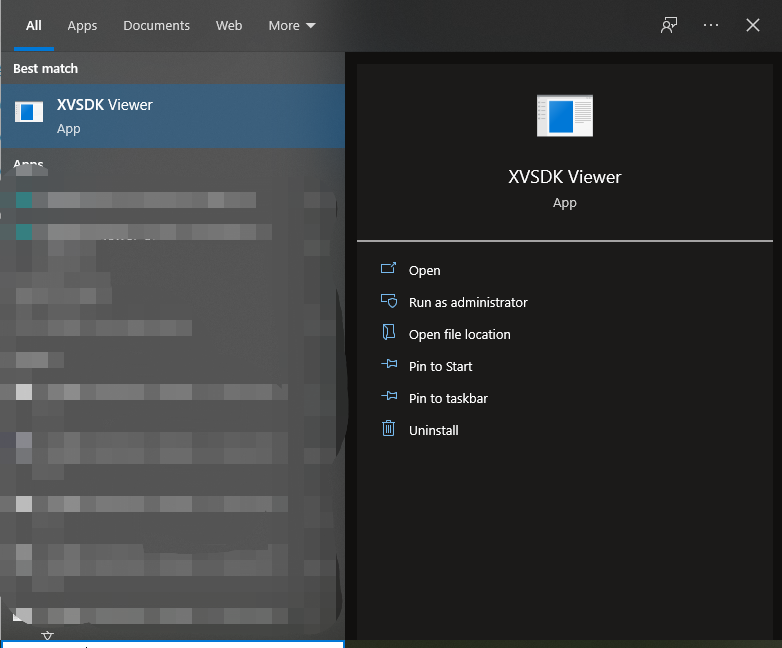
Please check "VSC interface" device status, camera device "XVisio vSLAM" status, "USB Composite Device" status. If the status is abnormal, please check whether the USB cable, Xvisio device firmware is normal, and whether the Windows host USB status meets the requirements, ** or please contact Xvisio FAE personnel for support. - System search XVSDK VIEWER and click "Open":
- After opening:
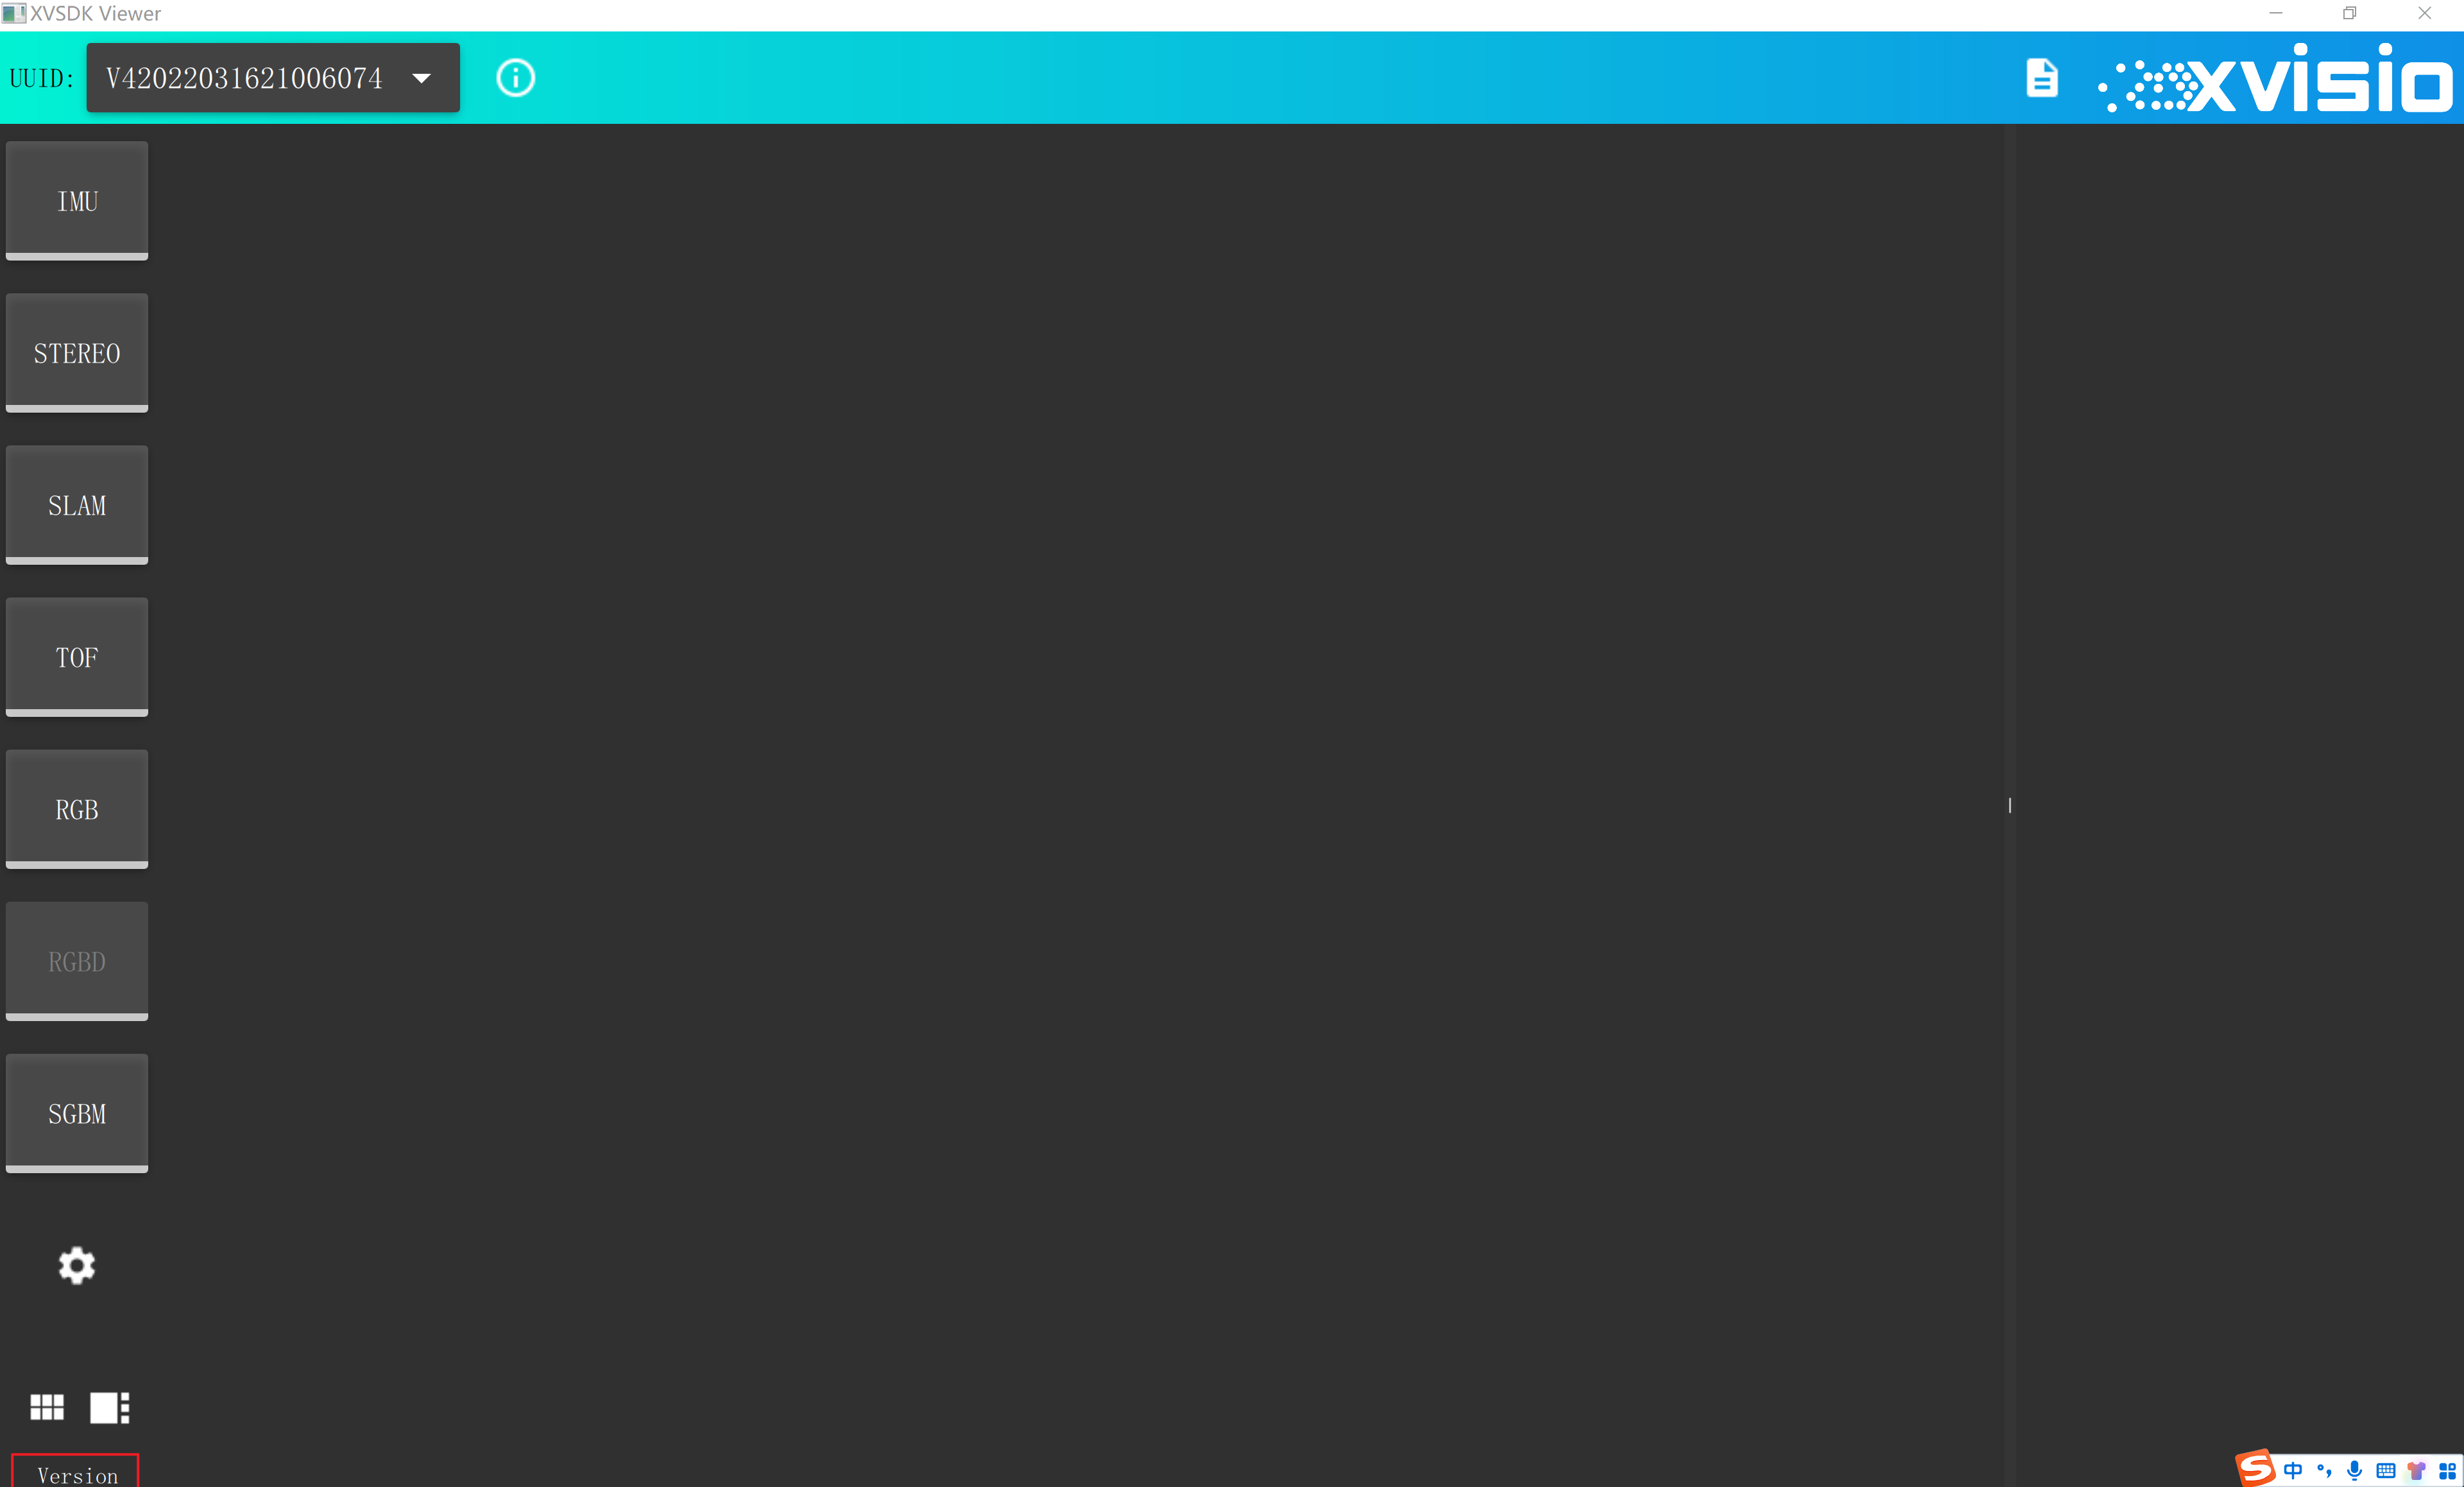
- Click "Verison" in the lower left corner:
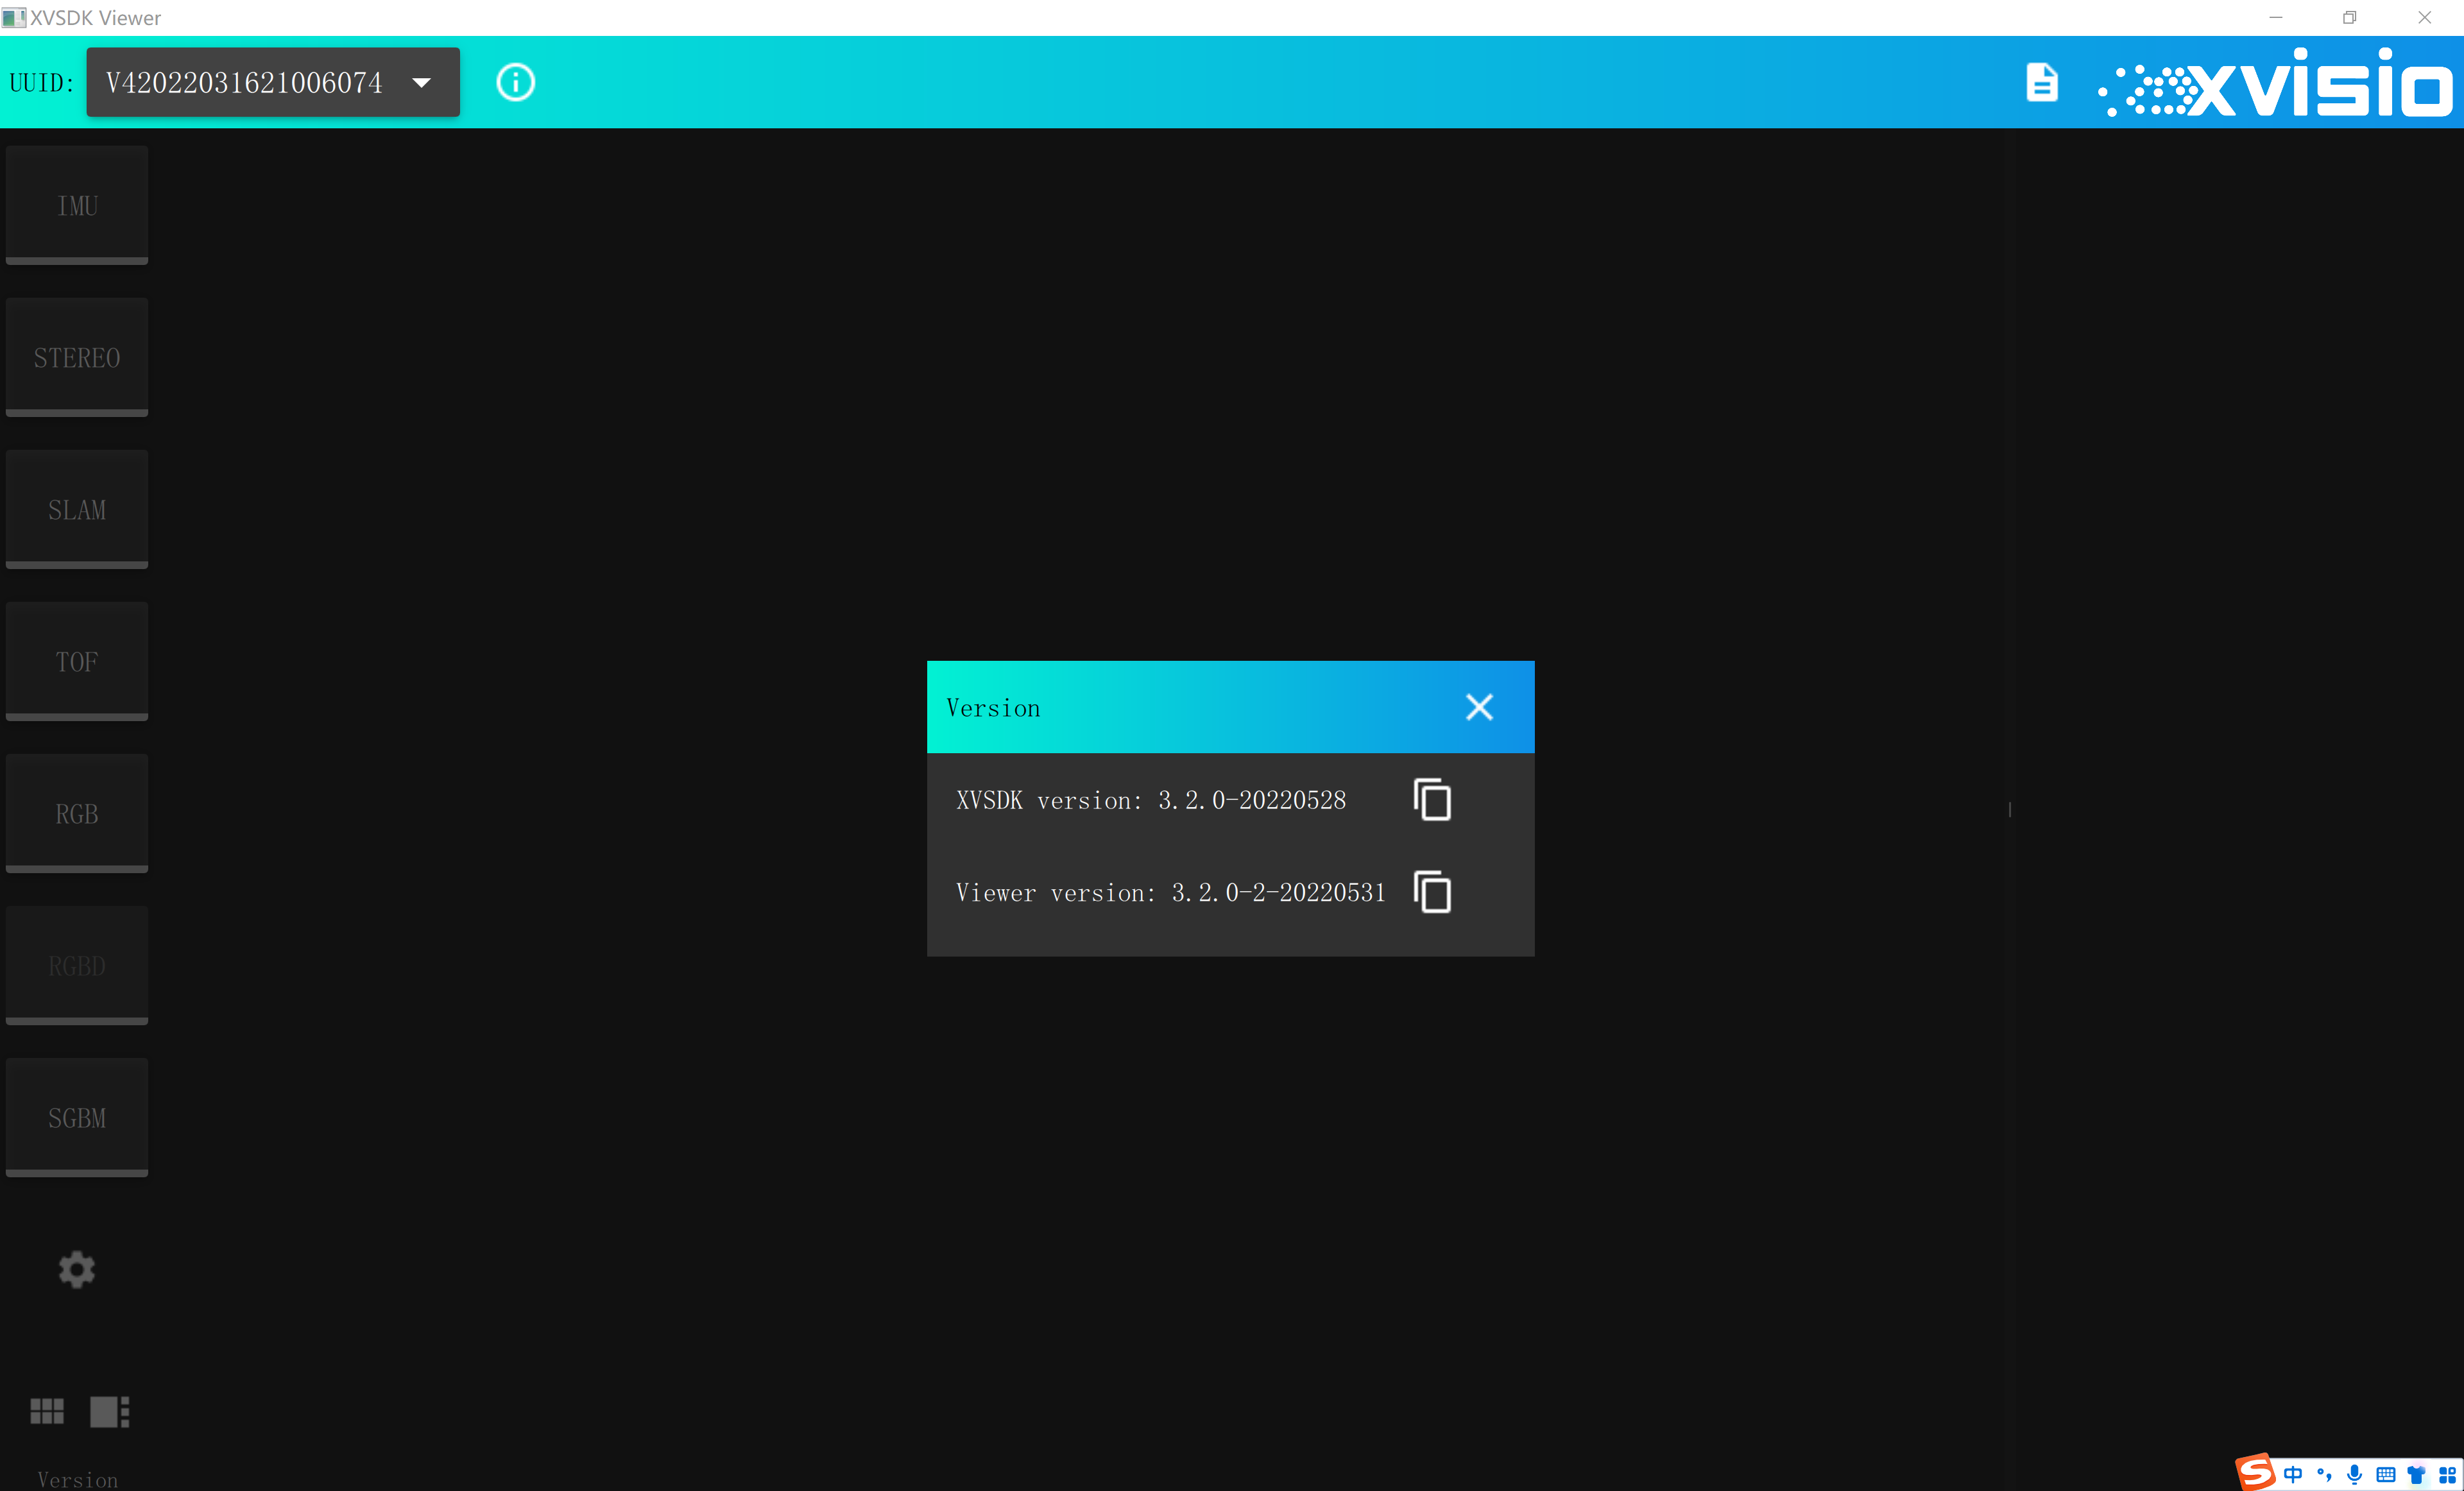
- Check the XVSDK version and Viewer version in the dialog.
Please check whether the version output by the pop-up box is consistent with the version installed this time. The latest installed version can be obtained by viewing the release note of the latest installed version.
Note: This chapter only introduces the installation and inspection of xvsdk-viewer. Please refer to the XVSDK VIEWER Application Guide for the usage guide and other introductions.